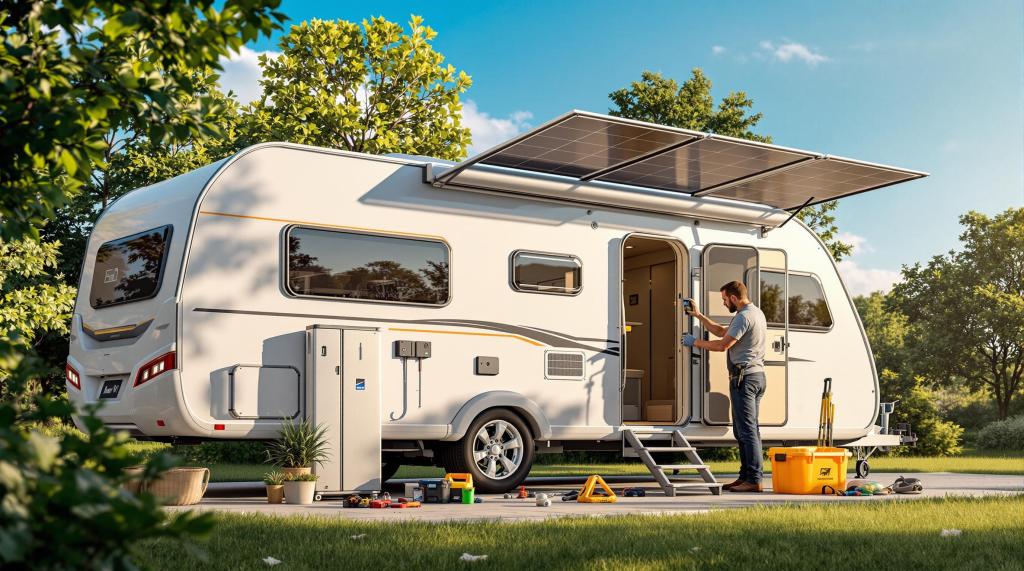
Hybrid power systems combine solar panels, batteries, and inverters to provide a dependable, eco-friendly energy source for caravans. They reduce emissions, save costs, and operate quietly, making them ideal for off-grid adventures. Here’s what you’ll learn:
- Calculate Power Needs: Understand how much energy your appliances require.
- Choose Components: Select solar panels, batteries (AGM or lithium), and inverters that match your setup.
- Safe Installation: Follow step-by-step instructions to mount, wire, and test your system.
- Maintain Performance: Clean solar panels, inspect batteries, and troubleshoot common problems.
With a budget starting at $1,500, you can install a hybrid system that powers everything from lights to refrigerators. Ready to transform your caravan? Let’s dive in.
How to Install a Solar Panel on a Caravan – Step by Step Guide
Planning Your Hybrid Power System
Setting up a hybrid power system for your caravan involves understanding your energy requirements and selecting the right components. Let’s break it down step by step to help you create an efficient and dependable setup.
Calculating Your Power Needs
The first step is figuring out how much power your devices and appliances will use. Here’s a quick look at typical power consumption in a caravan:
| Appliance | Running Watts | Daily Usage (Hours) | Daily Power Need |
|---|---|---|---|
| LED Lights | 10W | 6 | 60Wh |
| Refrigerator | 100W | 24 | 2400Wh |
| Laptop | 65W | 4 | 260Wh |
| Phone Charger | 10W | 2 | 20Wh |
| Microwave | 1000W | 0.5 | 500Wh |
Keep in mind that some appliances require extra power to start – this is called surge power, and it can be 3-5 times higher than their running watts.
Selecting the Right Components
Your hybrid power system will need a few key parts:
- Solar Panels: A good range for caravans is 200-400W panels. Brands like Renogy and Go Power are reliable options.
-
Batteries:
- AGM Batteries: Affordable but heavy. A 200Ah AGM battery costs about $700.
- Lithium Batteries: Lightweight and efficient but pricier. A 100Ah lithium battery is around $1,000.
"Avoid cheap lithium batteries, as they often fail to meet trusted quality standards." – My Generator
- Inverter: Choose an inverter that’s at least 20% above your maximum power needs. For example, if your appliances use 2000W with a 3600W surge, go for a 5000W inverter.
Budgeting and Finding Quality Materials
Here’s a rough idea of what you can expect to spend:
- Basic DC Power System: Starts at $1,500
- Standard AC/DC System: $2,000-$4,000
- Advanced System: $5,000-$8,000
For trusted suppliers, consider these options:
- Enerdrive: Known for dependable lithium batteries and inverters.
- Renogy: Offers complete solar panel kits with warranties.
- Go Power: Specializes in solar solutions for RVs.
A portable 100-watt solar kit typically starts at about $500. Once you’ve chosen your components and set your budget, you’ll be ready to move on to the installation phase.
Preparing for Installation
Getting ready the right way is key to a safe and smooth installation, ensuring your hybrid power system works reliably.
Tools and Materials Checklist
Make sure you have these on hand for a hassle-free installation:
| Category | Items |
|---|---|
| Basic Tools | Digital multimeter, battery-operated drill, wire stripper/cutter, screwdrivers, tape measure |
| Safety Gear | Safety glasses, protective gloves, non-metallic tools |
| Installation Materials | MC4 connectors, solar cable (10 or 8 AWG), cable ties, conduit, sealant |
| Mounting Equipment | Mounting brackets, Sikaflex 252 adhesive, cable entry housing |
For adhesive mounting, don’t forget Sika Aktivator 205 and Sika Primer 206 G+P for prepping surfaces and ensuring strong adhesion.
Safety Guidelines
When working with electrical components, safety is non-negotiable. Follow these tips to stay safe:
Electrical Safety:
- Shut off all power sources before starting any work.
- Remove metallic jewelry to avoid accidental short circuits.
- Use insulated tools when handling batteries.
- Label all cables with white electrical tape before disconnecting them.
Battery Handling:
- Always disconnect the negative terminal first and reconnect it last.
- Ensure proper ventilation to prevent gas buildup.
- Keep a first aid kit nearby, just in case.
Choosing Installation Spots
Picking the right spots for your components affects both performance and durability:
Solar Panels:
- Select large, clear roof areas without obstructions.
- Clean the roof surface and aim for maximum sunlight exposure.
- Factor in aerodynamics and any height restrictions.
Battery Installation:
- Opt for a well-ventilated location.
- Keep it away from living spaces.
- Ensure it’s easy to access for maintenance.
- Secure it firmly to prevent shifting.
Inverter and Controller:
- Install in a dry, easily accessible place.
- Position close to the battery to reduce voltage drop.
- Allow space for proper airflow to keep it cool.
- Utilize existing storage areas like under beds or in cupboards.
Take photos of your layout and wiring as you go; they’ll be helpful references during the process. Once everything is set, you’re ready to start the installation.
sbb-itb-0f2357b
Installation Steps
Mounting Solar Panels
Solar panels are the core of your hybrid power system, converting sunlight into energy for your caravan. Start by cleaning the roof thoroughly with warm, soapy water. Keep in mind, rigid panels can last 20-30 years, far exceeding the 1-5 year lifespan of flexible panels.
Mark the mounting points carefully, then drill into the alloy frame – but avoid any glass components to prevent damage.
"Avoid glue-only mounting; it risks panel detachment during travel."
For a secure installation, use a combination of mechanical fixings and sealant:
| Component | Installation Method |
|---|---|
| Mounting Brackets | Attach with stainless steel screws |
| Weather Sealing | Apply Sikaflex sealant around mounting points |
| Cable Entry | Use waterproof housing with rubber grommets |
| Panel Spacing | Leave a 25mm gap between panels for airflow |
Once the panels are firmly in place, you’re ready to move on to setting up the battery system.
Setting Up Batteries
Install the batteries over the axle in a well-ventilated compartment equipped with a thermostat-controlled fan. Proper placement ensures both safety and efficiency.
When connecting the batteries, follow these steps:
- Position the Battery Bank: Place the batteries in a dedicated, ventilated compartment.
- Install the Battery Monitor: Connect the monitor before proceeding with any other wiring.
- Wire Configuration: Follow the manufacturer’s guidelines for series or parallel connections.
With your batteries installed, the next step is integrating the inverter and controls for power distribution.
Connecting the Inverter and Controls
Choose a dry, cool location for the inverter, ensuring at least 25mm of clearance for ventilation. Position the inverter close to the batteries to minimize voltage loss.
Follow these steps for proper inverter installation:
1. Mounting
Secure the inverter in a cool, protected area using the hardware provided.
2. Wiring
Connect the inverter to the battery using cables specified by the manufacturer. Add a circuit breaker for additional safety.
3. Control Panel Installation
Install the control panel near existing electrical controls for easy access. Use cable ties to secure wires and protect them with conduit where needed.
"The best way to manage this is to wire inverter output to a separate power panel, so it can supply power to the existing outlets." – LVYUAN
Finally, ground the inverter to a solid chassis rail using a 12V cable. Before making the final wiring connections to the charge controller, cover the solar panels. Configure the charge controller according to your battery type (AGM, Gel, Lithium) before powering up the system.
Testing and Troubleshooting
Initial System Checks
Once your hybrid power system is installed, it’s time to test it thoroughly. Use a multimeter to measure voltage at key connection points. Start with the solar panels – check their output voltage during peak sunlight hours to confirm they’re working properly.
Keep an eye on your Battery Monitoring Kit (BMK) display for the following readings:
| Component | Target Reading |
|---|---|
| Battery State of Charge | Above 50% (lead-acid) or 30% (lithium) |
| Solar Panel Output | 13.0V+ in sunlight |
| Inverter Temperature | Below 40°C under load |
If you notice any discrepancies, follow the troubleshooting steps outlined below.
Common Problems and Solutions
Some issues are more common than others. Start by checking LED indicators and battery voltage. For example, the charging LED should light up when the panels are active, and the battery voltage should change when the panels are shaded.
If problems persist, try these steps:
- Inspect Fuses and Breakers: Look for blown fuses or tripped circuit breakers.
- Measure Battery Voltage: Use a voltmeter to confirm the battery is within the expected range.
- Examine Fuse Points: Double-check for any damaged or malfunctioning fuses.
Maintenance for Long-Term Use
After your system is up and running, regular maintenance is key to keeping it reliable. Set up a routine to maintain efficiency. For example:
- Clean solar panels every 2-3 months with a soft cloth and a solar panel cleaning solution.
- Inspect battery connections monthly for signs of corrosion and ensure the battery compartment is well-ventilated.
During inspections, use an infrared thermometer to check component temperatures. Keep a maintenance log with tasks like these:
| Maintenance Task | Frequency |
|---|---|
| Solar Panel Cleaning | Every 2-3 months |
| Battery Inspection | Monthly |
| System Performance Check | Every 6 months |
| Software Updates | As available |
If you encounter complex problems or notice a drop in performance, reach out to a certified technician. Staying on top of maintenance helps avoid major issues and extends the life of your system.
Conclusion and Next Steps
Key Points
A hybrid power system can elevate your caravan adventures by providing dependable energy for your outdoor getaways. To keep things running smoothly, stick to these practical tips:
- Clean your solar panels: Wash them with soap and water every 2-3 months, ideally in the evening.
- Check your batteries: Look for corrosion and ensure proper ventilation once a month.
- Run diagnostics: Inspect the entire system every 6 months to catch any issues.
- Track your power usage: Use your Battery Management Kit daily to monitor energy consumption.
Your Battery Management Kit is your best tool for keeping an eye on performance. Spotting issues early through regular checks can save you time, money, and headaches down the road.
Explore More with Live Outdoors

By following these steps, you can keep your hybrid power system running efficiently and reliably. For more tips, expert advice, and resources tailored to New Zealand campers, visit Live Outdoors. This site is packed with helpful content, including:
- Guides for fixing common system problems
- Updates on the latest outdoor power gear
- Recommendations for camping spots with power needs in mind
- A community of seasoned caravan enthusiasts to connect with
Good power management is key to thriving off-grid. With the guidance in this article and regular upkeep, you’ll be ready for endless adventures in your hybrid-powered caravan.
Related Blog Posts
- The best portable toilets to install in your caravans in 2025
- The best outdoor showers for your caravan or camper in 2025
- The top places to visit while caravanning around New Zealand
- Ultimate Guide to Self-Containment Certification in NZ
https://app.seobotai.com/banner/banner.js?id=679c17f86671b2e00f47c255
